At a Glance:
Preparing for Installation: Tools, Placement, and Planning
Cutting, Wiring, and Mounting the Speakers
Final Setup: Testing, Adjustments, and Finishing Touches
Why Trust Flanners Home Entertainment?
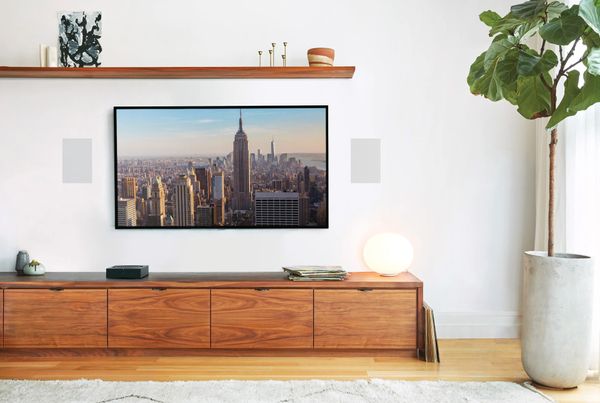
Installing in-wall speakers is one of the best ways to upgrade your home audio system without taking up valuable floor or shelf space. With the right setup, you can enjoy clean, immersive sound that blends seamlessly into your room’s design. Many homeowners are surprised to learn that installing in-wall speakers can be a manageable project with the proper tools, planning, and guidance.
In this blog, we’ll walk you through the essential steps to help you get started. From choosing the right location to cutting clean openings, running wire, and securing the speakers in place, you’ll gain a clear understanding of the entire process. By the end, you’ll feel confident tackling your own installation and creating a sleek, professional audio setup that enhances any room.
The Best in-Wall Speaker Options at Flanners
If you're looking to DIY your in-wall speakers but aren't sure where to start, visit us at Flanners and speak to one of our experts. We can provide product recommendations and share practical tips to help you achieve the results you want.
In-Wall Speaker CatalogPreparing for Installation: Tools, Placement, and Planning

At Flanners, we want your in-wall speakers to deliver the rich, balanced sound you’re expecting, and that starts with proper preparation. A smooth project depends on choosing the right location, understanding what’s behind your walls, and getting your tools ready before making any cuts. This part of our in-wall speaker installation guide walks you through the essentials so you can move forward with confidence.
Selecting the ideal location is one of the most important steps for achieving even sound across your room. Begin by identifying a spot that lines up with your main listening area. Avoid placing speakers too close to corners or furniture that could block or reflect sound. Think about the height as well, ear level when seated typically offers the best listening experience.
Tools Needed
Before marking anything, take time to understand what’s inside your walls. Use a stud finder to map out studs, wiring, and plumbing lines so you don’t accidentally run into hidden obstacles. This also helps you choose a clean section of drywall that’s easy to work with and won’t disrupt your home’s structure.
Gathering the right tools ahead of time makes the installation smoother and safer. You’ll typically need:
- Stud finder
- Level
- Tape measure
- Drywall saw
- Screwdriver or drill
- Painter’s tape for marking
- Protective eyewear and a drop cloth
Measure and Placement
Once your tools are ready, carefully measure and mark the cutout areas using the template included with your speaker. Double-check your measurements with a level, then outline the shape with painter’s tape for better visibility. Taking these steps helps you avoid mistakes and keeps the installation clean and controlled.
With smart planning and a clear understanding of your space, you're already setting the stage for great in-wall audio performance.
Learn More: Best Brands for OLED 65-Inch TVs
Cutting, Wiring, and Mounting the Speakers

We know that installing in-wall speakers can feel like a big step, but with the right approach, the process becomes manageable and even enjoyable. Once your placement is set and you’ve confirmed you can avoid studs during speaker placement, it’s time to move into cutting, wiring, and securing everything in place for a polished, professional finish.
Cutting Into Your Drywall
Cutting the wall openings is the first major task. Use the provided template and take time to create clean, accurate lines. Cutting drywall for speakers isn’t difficult when you move slowly and let the saw do the work. Light pressure helps you stay on track without causing uneven edges or excess dust. Before cutting fully through, double-check that the space allows for the correct in-wall speaker depth clearance.
Wiring Your Speakers
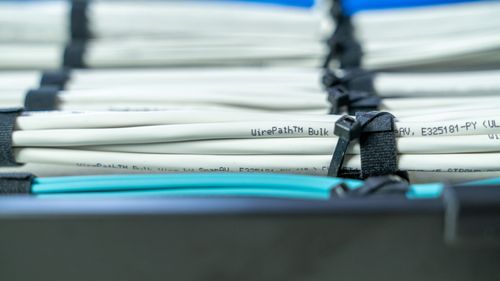
Next comes running speaker wire in the wall. This part often feels intimidating, but it becomes simple with a bit of planning. Use a fish tape or pull string to guide the wire down the cavity and toward your amplifier or receiver. Make sure the wire remains untangled and away from electrical lines to reduce interference. Once the wire is in place, strip the ends and secure the positive and negative connections firmly to the speaker terminals.
Speaker Mounting
Before mounting the speakers, secure the frame and hardware tightly so the unit sits flush against the wall. Most modern designs include dog-leg clamps that lock into the drywall as you tighten the screws, giving you a solid hold without additional bracing.
For a clean finish, consider using wire channels or in-wall rated plates near your equipment rack. These small details keep the installation tidy and make your system look intentionally built-in. Top it off with a paintable speaker grille, and your new speakers will blend seamlessly into the room while delivering the sound you expect from a Flanners installation.
Final Setup: Testing, Adjustments, and Finishing Touches

Now that your in wall speakers are securely mounted, it’s time to move into the final phase: testing, finishing, and dialing in the details that make the installation feel complete. At Flanners, we always remind customers that these last steps are just as important as cutting or wiring, because this is where your system truly comes to life.
Sound Testing
Start with sound testing. Play familiar music or a movie scene and listen carefully. Small adjustments can make a noticeable difference. If one speaker sounds slightly off, check for:
- Loose wire connections
- Uneven wall cavity depth affecting resonance
- Minor positioning shifts needed for balanced sound
Blending Your Speakers
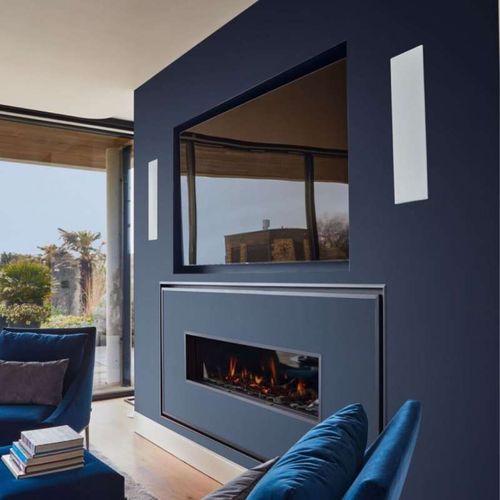
Next, focus on creating a seamless look. In wall speakers are designed to blend into your space, so take time to seal any small gaps around the frame. If your model includes a paintable grille, lightly coat it with paint to match your walls. Avoid heavy layers, as they can block sound. Once the grille is in place, your installation will look polished and integrated.
Connecting Your Speakers
Connecting your speakers to the receiver or amplifier is the next step. Confirm you’ve matched polarity correctly on each channel, then run a system test through your receiver’s setup menu. Many systems include calibration tools that measure the room and automatically optimize performance. This is an easy way to ensure your speakers deliver the clarity and depth they’re built for.
If you encounter issues during setup, troubleshooting normally resolves them quickly. Common problems include signal dropouts, low volume on a single channel, or tonal imbalance. Recheck wiring, verify your receiver settings, and make sure the speaker frames are tightened properly.
With everything tuned and finished, you’ll enjoy the full potential of your new in-wall speakers and the clean look they bring to your home.
FAQ: How to Install In-Wall Speakers
Most installations can be completed with basic tools. A drywall saw, stud finder, level, measuring tape, wire stripper, and power drill are usually enough. Many speakers also include templates that make marking cutout areas simple and accurate.
The ideal placement depends on your room layout and listening position. Use a stud finder to avoid studs, plumbing, or electrical lines. Aim for ear-level height in a home theater or evenly spaced positions for distributed audio. Before cutting, tape the template to the wall and test the location by standing or sitting where you’ll listen most.
Running wire is manageable with the right approach. Use fish tape or a wire puller to guide the cable through the cavity. Make sure to follow existing pathways and avoid sharp turns. If your walls are insulated, take your time feeding the wire so it doesn’t snag. Always use CL2 or CL3-rated in-wall speaker wire for safety and code compliance.
First, check the manufacturer’s measurements to confirm the cutout size. If the opening is slightly too small, carefully trim the edges with your drywall saw. If it’s too large, use drywall repair strips or mounting brackets designed for oversized openings. Many modern speakers include clamps that secure them firmly even with minor imperfections in the cut.
Why Trust Flanners Home Entertainment?
When you choose Flanner’s Home Entertainment, you're trusting a deeply rooted, family-owned legacy that dates back to 1891 a company that has evolved from a piano and sheet-music shop into a premier specialty retailer of high-end audio, video, and smart-home systems. With showrooms in West Allis and Northshore Grafton, Flanner’s combines decades of expertise and personalized service. Its team includes members with 15–30 years of industry experience to design and install tailored home theater, multi-room audio, networking, and control solutions. Over its more than 130-year history, the business has maintained its commitment to craftsmanship, reliability, and genuine customer relationships, making every system feel as thoughtfully built as the business itself.